If you enjoy repairing and modifying cars, one of the most useful skills is how to use the OBD2 scanner.
Not only will this knowledge come in handy, but it is, more or less a necessity.
Hopefully, this article will help you learn how to use it, show that it’s pretty simple to handle, and help in solving your car’s problem.

If you’re not in the mood for reading, you have a YouTube video tutorial at the end of the article.
What is the difference between an OBD2 code reader and OBD2 scanner?
The basic types are:
- OBD2 code readers
This is the most basic type and is only used to get fault codes. Also, it is the cheapest to buy.
- OBD2 scanners
Unlike code readers, scanners have more functions and features. The main difference is reading the code, erasing the code, interpreting the code, and even changing some settings.
HOW TO USE AN OBD2 SCANNER?
1. FIND THE OBD PORT ON YOUR CAR

The most common places are around the steering wheel or near the driver's footwell. Often times it may be hidden behind plastic trimming, compartments, or else. Which makes it sometimes hard to find. If this is the case, best look at the user’s manual or simply Google it for your car type.
2. CONNECT THE OBD2 SCANNER

Connect the OBD2 scanner connector to the port. Be careful, don’t use too much force so you don’t damage the port. Make sure it's installed correctly and connected well.
Most OBD2 scanner tools will start up with a push button. When you connect them to the port. Classic OBDii scanners and smartphone modules run on the car’s electricity for functioning.
In other cases, you may have to press a separate power button. Of course, laptops have their own batteries.
3. TURN THE IGNITION ON

To start the scan, you must turn the ignition on. Don't start the engine, just the ignition. This allows the scan tool to access the car's computer.
4. LET THE OBD SCANNER MAKE THE SCAN

Some scanners will start scanning automatically, while others require you to enter a menu to use it.
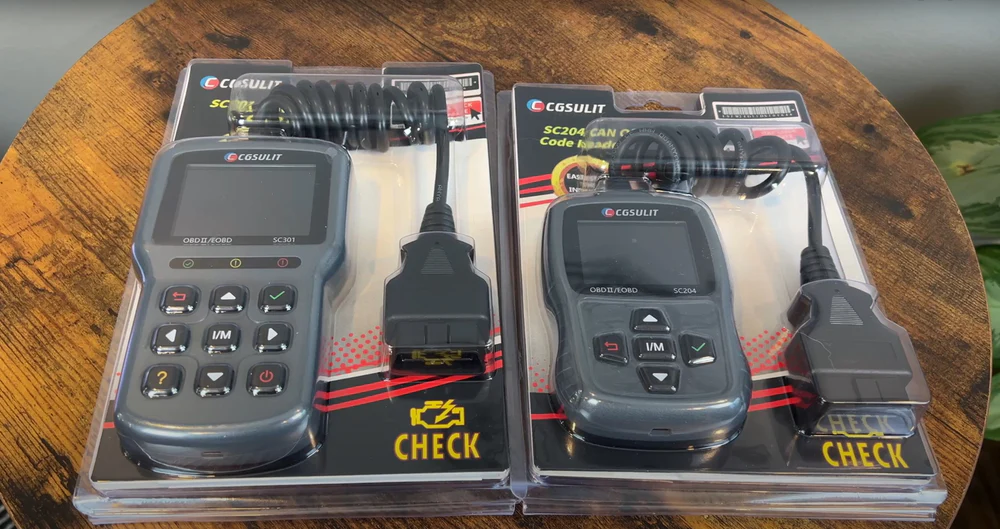
For example, on the CGSULIT SC301 scanner, you have a separate button for a quick scan.
The scan may take some time, up to a few minutes, so please be patient.
In this section, It's worth mentioning that most OBD scanners have a menu system that can be accessed through the digits on the tool.

In most cases, it’s a back and confirmed principle. For orientation through the menus, you have left, right, up, and down buttons.
Much like computers in the early days of the digital age.
If you're inexperienced, it's best to skim the menu before you start doing anything else. It would also be good to read the manual and see what are the available options and features.
The operating system is almost the same on all OBD scanners.
With the laptop and smartphone option, the user interface is much better, more modern, and perhaps with more information. Thanks to the familiarity with everyday technology, this option will be much easier to get used to.
5. READ AND INTERPRET THE CODES

Once the scan is complete, the scanner will provide you with a list of codes. These come in the form of letters and numbers (for instance P0135, P0141, P0200, and else).
If you have a basic OBD reader, you may need to look at the code to see where the problem is. The Internet is of course the best place to go.
However, if you have a scanner, there might be a built-in database where you can automatically get a brief description of your code.
This is the most important part of learning how to use the OBD2 scanner: correctly interpreting fault codes. The quality of future repairs depends on it.
After connecting the OBD scanner, you can try to erase the fault code. In short, it's a simple process that involves going through the menus and selecting an erase option. Erasing is mostly done by checking for engine light problems.
Once you’re finished with the OBD scanner:
- Turn off the ignition
- Disconnect the scanner tool from the port. Be careful when pulling out the connector so you don’t damage the port.
If you have erased the fault code, after disconnecting the tool, start the car and see if the warning light disappears.
Also, if you did a repair, it's a good idea to do another scan to see if any error codes reappear.
CONCLUSION
As you’ve hopefully concluded, learning how to use the OBD2 scanner tool is easy. In fact, using a smartphone is much more complicated. Besides the simplicity, one more major reason for learning this is saving money. Seldom shop will make a free diagnosis and tell you what the trouble codes are (which is understandable).
Even if you have to visit a mechanic, having some prior knowledge of car problems may save you from unnecessary expenses and inform you about the outlook for repairs.
When choosing an OBD2 tool, you should probably consider purchasing a scanner tool instead of just a reader. For some extra money (not so much), you get more features, possibilities, and generally higher quality.
So, in the end, buy yourself a nice OBD2 scanner and learn how to use it. In the long run, you might save yourself some serious money, time, and lots of nerves.
HOW TO USE AN OBD2 SCANNER-YOUTUBE VIDEO